My C64 devkit project interfaces to the actual C64 hardware by replacing the main memory. It’s unlikely I’ll get it working perfectly correctly first time, and even if it appears to work, I need to verify it. While I can debug issues by using a logic analyser and checking timing, it’s a fairly long winded and inconvenient process. Really what I want to do is quickly see any errors on the databus – bits being stuck high or low, missed reads or writes, and whether or not those things are constant or just occasional glitches.
It occured to me that it would be useful to just display memory on-screen, and just constantly read/write it with the CPU. Most of the errors I’m looking out for will be visible, and visually distinct. That does have an obvious drawback that the system has to be somewhat functional to execute any code, but this isn’t a complete show-stopper. So long as the databus behaves when RAM isn’t in use, code can be executed from ROM.
I could replace the system’s kernal ROM with a custom image, but the C64 ROM pinout is not the same as a common EEPROM, so an adapter is needed. I also want to be able to go back to a stock ROM easily, so probably I’d need a ROM switcher. All of this takes me away from my desired approach of keeping the actual C64 hardware as close to original as possible.
A better solution would be to use a cartridge that can be plugged in when I want to do a low-level diagnostic. This is not a new idea – diagnostic cartridges have existed since the C64’s heyday, and there is already one (‘Deadtest’) that does some rudimentary memory testing while running entirely from ROM. Though in that case, all it does is flash the screen to indicate which memory bit has failed a test, and if they all pass, displays a simple text screen with some addtional tests that are not so useful to me. So a first iteration of my own diagnostic simply replaced the ROM on that cartridge with a custom image. That image however (as with the original Deadtest) can only access a very limited amount of C64 memory, and cannot see any of the normal ROM. This limits how much can be tested and diagnosed.
To understand why this is the case, we need to understand the C64’s architecture. After a reset, a 6502 reads a 16-bit address stored in bytes at $fffc and $fffd, and then jumps to that address to continue execution. The normal C64 ROM is mapped into the 6502’s memory space from $e000 to $ffff, so the reset vector is in ROM and points to code elsewhere in the ROM. A C64 cartridge can map up to two 8K blocks of data (using two select signals – ROML and ROMH) into the C64’s memory space. However these are mapped to fixed locations and do not replace the Kernal. On reset the C64 will still run code from the Kernal, and the Kernal itself detects the presence of a cartridge and jumps to it. This doesn’t allow for a low-level diagnostic, because the Kernal itself requires working memory before it actually gets as far as jumping to any mapped cartridge.
In order for the Deadtest cartridge to function without working memory, it instead configures itself as an ‘Ultimax’ cartidge. These cartridges are for the C64’s earlier, cartridge-based variant which had no onboard ROM and very limited memory. When a cartridge designed for that system is used in a C64, the C64 hardware reconfigures itself to imitate that machine – the ROMs are mapped out, RAM is limited, but more importantly the cartridge is mapped into the normal Kernal memory space, allowing the machine to boot directly from an external ROM.
So unfortunately for us, the very feature that allows it to work at all, is also the one that prevents it from being as powerful as we would like.
There are modern cartridges that allow the replacement of the Kernal by switching Ultimax mode on only during Kernal reads – but this requires reasonably sophisticated timing & logic and a certain amount of messing with the bus that I want to avoid, given that I’m debugging the bus myself. However I don’t need to replace the Kernal in such a transparent way – I’m not booting into basic and running arbitrary software. I just need to make the machine boot and run code from my own ROM image. It would be quite acceptable, for example, to boot initially in Ultimax mode, and then permanently switch out of that as soon as possible.
How can we do that? A C64 cartridge tells the C64 what kind of cartridge it is with two signals, EXROM and GAME. These are both active low – they’re pulled up to 5V by the C64, and a cartridge can optionally connect them to GND to select them. If only EXROM is pulled low, there is a normal 8K cartridge. If only GAME is pulled low, it is an Ultimax cartridge. Both cartridge types map ROM into the $8000 space, so if we can just temporarily be an Ultimax catridge until the 6502 reads the reset vector, we should be golden. I could switch the signals on a timer, triggered by reset, but I’d prefer something more flexible and precise. Ideally we want a cartridge that pulls GAME low on reset, but can programmatically reconfigure those lines to pull EXROM down instead.
| EXROM | GAME | ROMH | ROML | |
| Ultimax | 1 | 0 | $E000 | $8000 |
| Normal | 0 | 1 | N/A | $8000 |
In order to have a software configurable cartridge, we can borrow from simple bank-switching cartridges. One common implementation exposes a single 8-bit register to the C64, using those 8-bits for the upper address bits on a larger than 8K ROM. If instead we connected two of the bits to the EXROM and GAME lines we could alter them in software. The register is implemented in hardware with a single 74LS273 octal flip-flop with inputs connected to the databus. The C64 helpfully reserves a part of the I/O memory space for external expansion, and provides signals on the expansion port to indicate when accesses to that area are happening. If we combine that signal with the system clock, we can clock the register when databus is stable on a write cycle. The C64 cannot read from the register, but this isn’t important.
There are a few other details to take care of to make all this work. If we reset the register with the C64 we will initialise all the bits to 0, but we want one to default to 1 so that GAME can be low and EXROM high. The easiest solution for me was to just invert one of the outputs and use that for EXROM – to set the cartridge to a normal cartridge mode I can then set both bits to 1. We also have to combine both the ROM select signals into one because we’re just providing a single 8K image, but in Ultimax mode there are two 8K ROMs mapped into memory and we want the same ROM mapped into both. This way the CPU can load the reset vector from the upper part of memory, but jump to an address in the lower range which will still be mapped when we change to a normal cartridge mode.
Making a ROM is fairly simple. We set the start address to $8000, which is where the ROM will be mapped in both Ultimax and normal modes, but because we are also enabling the ROM on the upper ROM select signal, this image will also appear at $E000 in Ultimax mode. This means that if we put an address at location $9ffc and $9ffd, it will be seen by the 6502 at $fffc and $fffd when in Ultimax mode. As that’s the default at reset time, this will override the Kernal and jump directly to our ROM. As the ROM is in two locations, we can set the vector to point to the lower address, and then the cartridge can immediately reconfigure itself as a normal C64 cartridge, banking the normal ROMs and all of RAM back in.
This cartridge design could be used to implement a combined Deadtest and Diagnostic cartridge which could display meaningful debug in the event of dead memory, but still then boot to a full test mode that can check ROMs, etc. I probably won’t do that myself because I just need visual memory debugging.
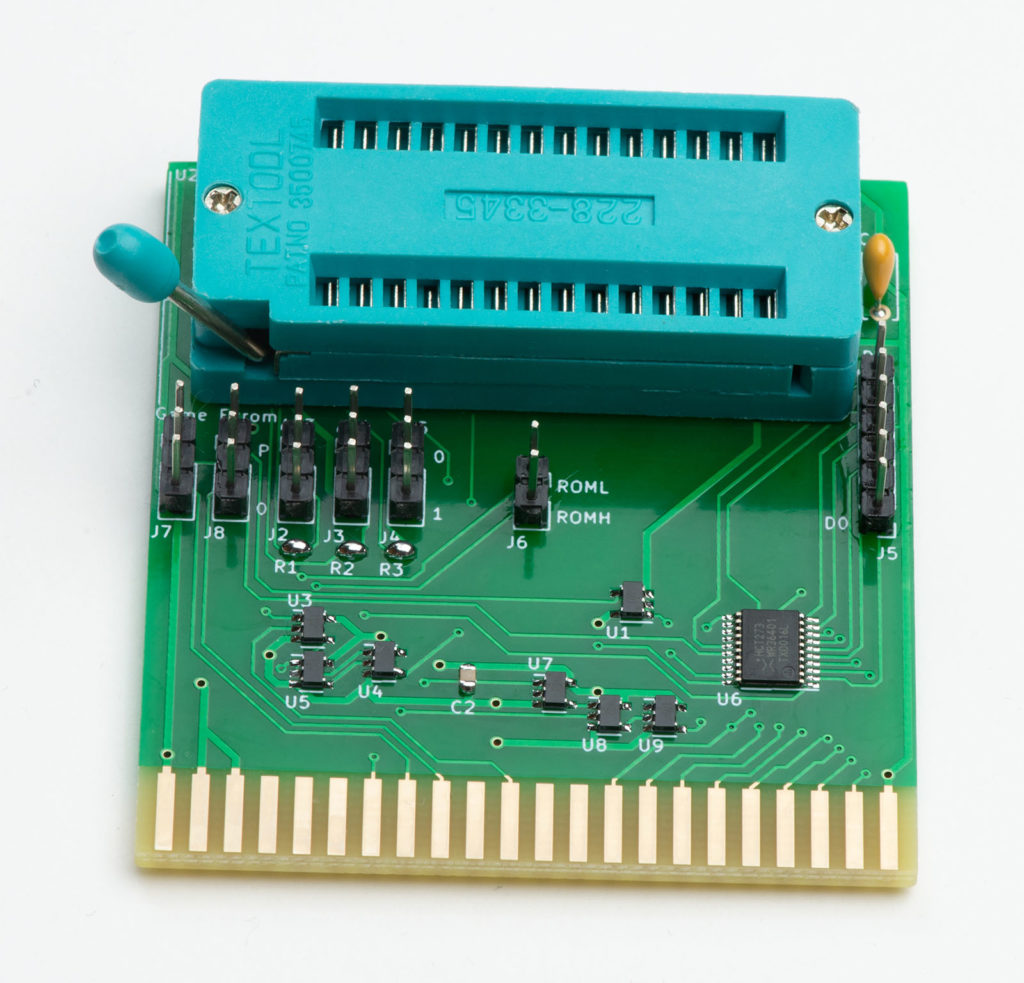
For the cartridge I designed it to use discrete NOR gates as I thought it’d be easily to lay everything out, but also because I needed a few more gates than a simple bank-switching cartridge so a single quad-gate chip wouldn’t suffice. I gave enough space to use a ZIF socket for the ROM so I could easily remove the EEPROM for reprogramming. I added quite a few pin headers to allow for configuration if I want a different type of cartridge at some later point – the unused 6 bits from the register are available, and three extra ROM address pins are also broken out, should I want to use a larger EEPROM. I also added the option to set the EXROM and GAME bits manually instead of letting them be controlled programmatically.
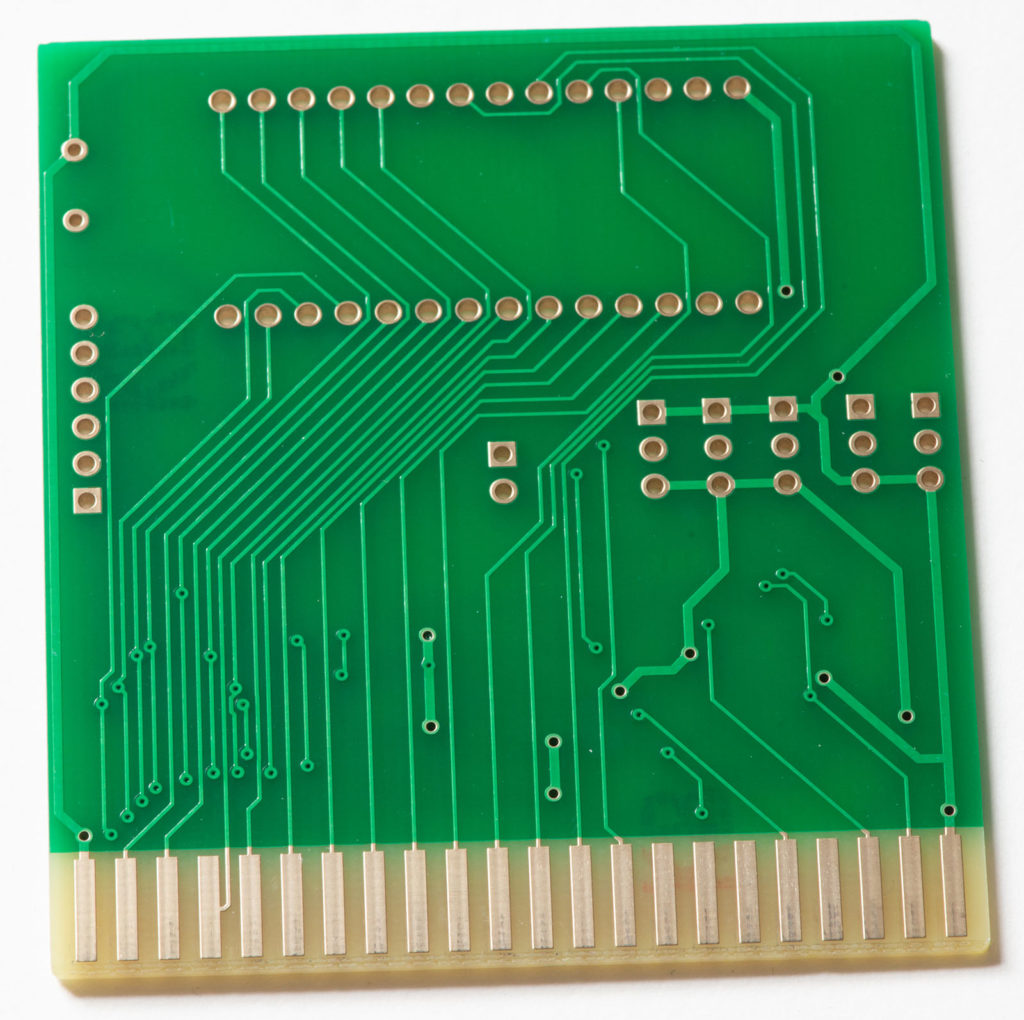
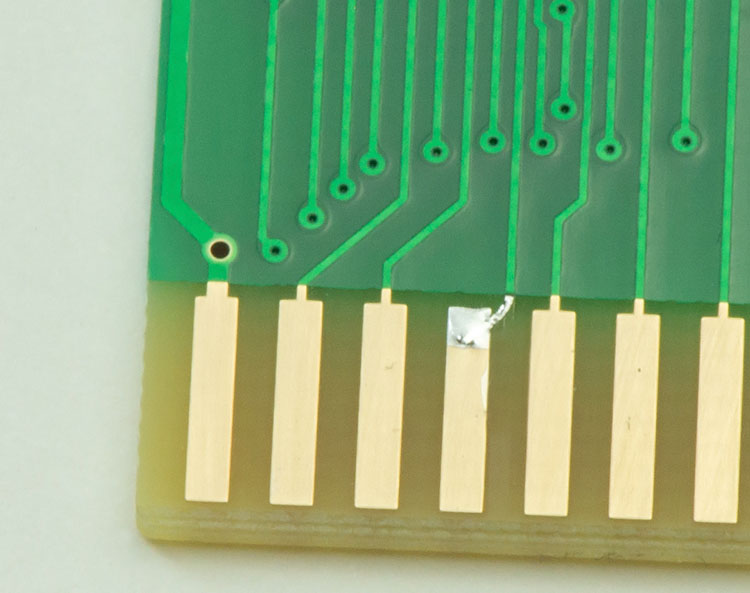
Sadly when the PCBs came back, I realised I’d introduced a possible problem. When routing the traces on the bottom, Kicad had helpfully nudged one of the tracks coming from the edge connector such that it emerged from the side of the pad and ran between pads, rather than connecting at the top. As there is no solder mask on the edge connector, there is the possibility of a short if the mating connector is not perfectly aligned. I considered adding some mask, but I was worried this could wear out with the physical insertion.

In the end I just carefully cut the track where it joined the pad, peeled it back to the edge of the connector, and then soldered it to the top of the pad, having masked off the rest. It turned out fairly neat, probably better than a patch wire would be.

Having soldered up everything else it’s time to test!
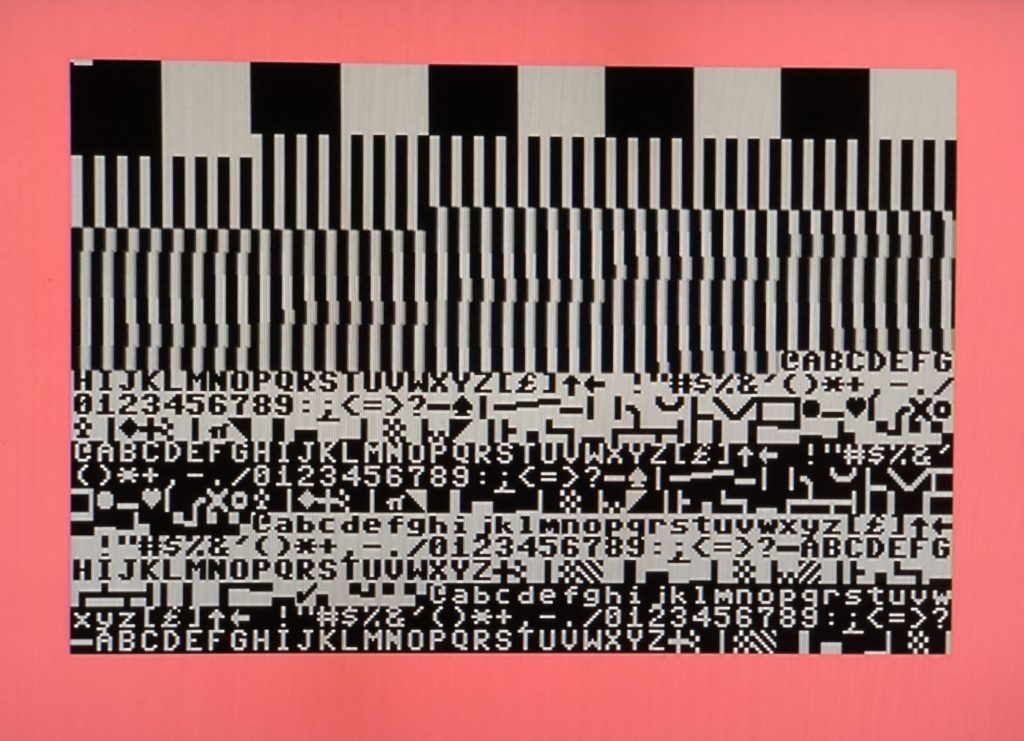
I’d previously written a test-rom which initialised the hardware, set the VIC to output a bitmap image of the lowest part of memory ($0000 – $1fff), set the colour map for that bitmap to be the usual screen memory ($400 – $7ff), and then attempt to write $f0 to memory from $400 to $fff. I then just infinitely loop around memory from $800 to $fff, reading a byte, rotating the bits, and writing it back. If the C64 is at least somewhat functional there should be a bitmap in black and light-grey. The top part will be uninitialised memory, the next part will be vertical stripes, some of which should be animating, and the bottom is uninitialised memory. If memory is broken, the ROM will still execute, and the kind of problem can be deduced from how it affects the image. Long term stability can be determined from any effect on the animated bytes. I adapted this ROM image to be located at $8000 as discussed above, and put a write to $de00 at the top of the program in order to change the ROM configuration on boot. If it worked, the image should be as before, but instead of uninitialised memory in the bottom half the screen, the VIC should be able to see the character ROM.

Success! I now have a cartridge which has full access to the C64’s RAM and ROM, but does not require working memory or Kernal to boot. This should be a useful tool in debugging any memory issues I have.

